Calibrating a mouse means adjusting its settings so the cursor moves exactly the way you expect — no acceleration surprises, no drift, and a 1-to-1 relationship between your hand and the cursor. This guide walks through how to calibrate a mouse on Windows and macOS, then how to verify the result.
The fastest way to confirm your calibration is working is to run our Mouse Precision Test and Mouse Drift Test afterwards.
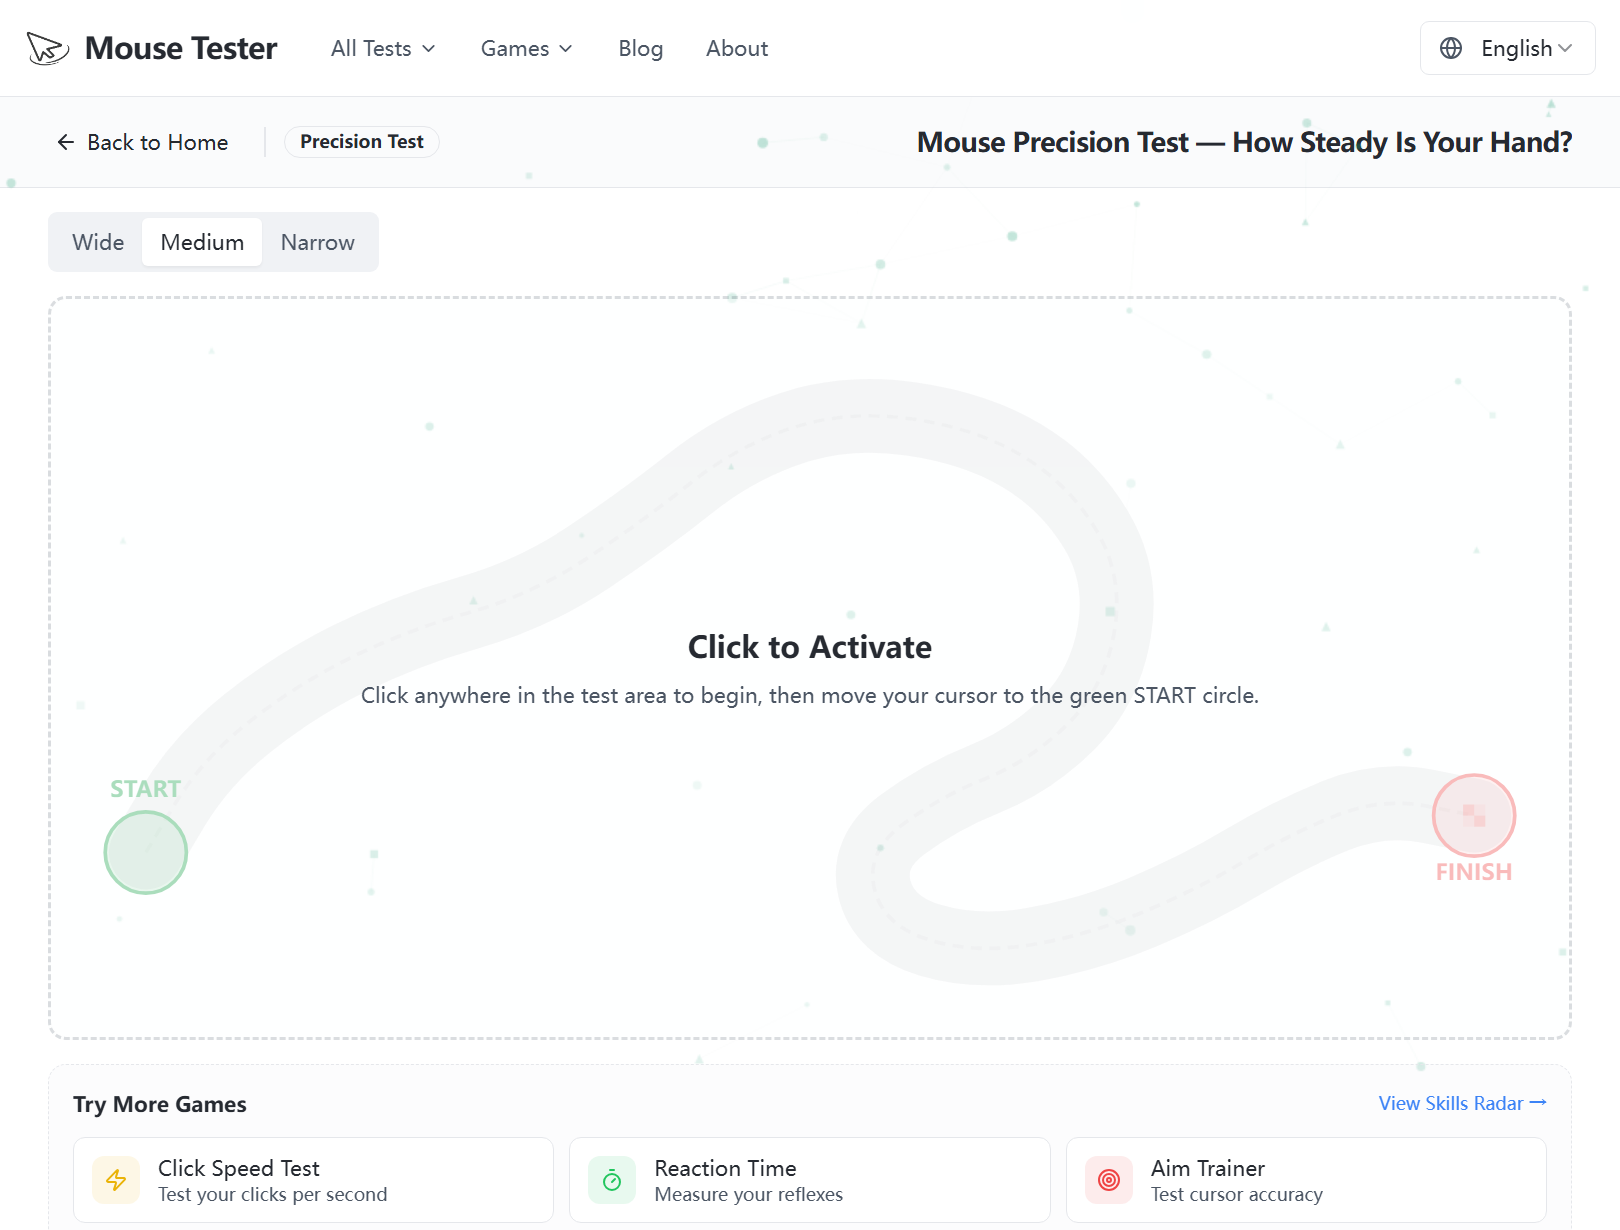 After calibrating, the Mouse Precision Test checks how steadily you can trace a path — a quick way to confirm your settings feel right.
What "Calibrating a Mouse" Actually Means
Unlike a game controller, a mouse has no single "calibrate" button. Calibration is really three adjustments working together:
- Pointer speed — how fast the cursor moves across the screen.
- Pointer acceleration — whether moving the mouse faster covers extra distance (usually you want this off for consistency).
- DPI — the hardware sensitivity set on the mouse itself.
Getting these to work together gives you predictable, repeatable cursor movement.
How to Calibrate a Mouse on Windows
Step 1 — Turn off "Enhance pointer precision"
This setting is Windows' mouse acceleration. Disabling it makes movement consistent — the same hand motion always moves the cursor the same distance.
- Open Settings › Bluetooth & devices › Mouse.
- Click Additional mouse settings.
- Go to the Pointer Options tab.
- Uncheck "Enhance pointer precision" and click Apply.
Step 2 — Set pointer speed to the middle
In the same Pointer Options tab, set the pointer speed slider to the 6th notch (the middle). This is the only position on Windows that produces a clean 1-to-1 pointer signal without scaling. Adjust actual sensitivity using DPI instead (Step 3).
Step 3 — Set your DPI
Use your mouse software (Logitech G HUB, Razer Synapse, etc.) or the DPI button on the mouse to pick a sensitivity. Common starting points:
- 800 DPI — a popular baseline for gaming and precision work.
- 1600 DPI — comfortable for high-resolution monitors and general use.
Not sure what your DPI is? Measure it with our Mouse DPI Test and fine-tune with the DPI Calculator.
How to Calibrate a Mouse on macOS
- Open System Settings › Mouse.
- Adjust Tracking speed to a comfortable level.
- To disable mouse acceleration (macOS applies it by default), many users install a small utility such as an acceleration-off tool, or use their gaming-mouse software, since macOS has no built-in toggle. Set the tracking speed first and only disable acceleration if movement feels inconsistent.
Step 4 — Test Your Calibration
Calibration is only done once you've verified it. Run these quick, free checks:
- Mouse Precision Test — confirms you can hit targets consistently.
- Mouse Drift Test — checks the cursor stays still when you're not touching the mouse.
- Mouse Acceleration Test — verifies acceleration is truly off.
If the cursor still moves inconsistently after calibration, the issue may be your surface or sensor rather than settings — see our guide on why a mouse drifts and lags.
Quick Calibration Checklist
- ✅ "Enhance pointer precision" is off (Windows)
- ✅ Pointer speed at the middle notch (Windows)
- ✅ DPI set intentionally, not left on default
- ✅ Acceleration verified off with a test
- ✅ No drift when the mouse is stationary
- ✅ A clean, non-reflective mouse pad underneath
Do those six things and your mouse will track exactly as your hand intends.